How to create input images that convert cleanly into pixel art
Before You Start: The Idea
Pixel Refiner can automatically fix blurred pixels, misaligned grids, and
too many colors. Problems that come from the generated image itself,
however, cannot be fixed at the conversion stage.
This page collects prompts that
prevent the unfixable problems while the image is being generated.
What the tool can fix (no need to worry when generating)
Blurred pixels and anti-aliasing
Uneven scaling of pixel size and misaligned grids
Too many colors (color reduction and palette conversion)
Background transparency for flat backgrounds
What the tool cannot fix (prevent it when generating)
The background color also appears inside the subject
The subject is cropped at the edge of the image
Shadows, glows, and soft shadows
A slight tilt across the whole image
Several subjects packed into one image
Zoom In and the Generated Image Is Blurred
From a distance a generated image looks like pixel art, but zoom in and the
edge of a single dot fades over several pixels, and the color drifts within
one dot. Image models do not follow the pixel grid exactly, so a generated
image is hard to use as an asset as it is: put it in a game or a UI and the
outlines look soft.
Pixel Refiner snaps these blurred dots back onto a grid and repaints each
dot in a single color. The recipes below are about generating images that
are easy to snap back.
Whole image
Detail (4× of the original pixels)
The same generated image. On the right, 80×80 pixels from the top left of
the helmet are enlarged 4×: the boundary between dots is smeared, and
intermediate colors appear between the background and the outline.
Five Basic Principles
Principle 1: Use a flat, saturated background color that never appears in
the subject
When the background color also appears in the subject — a character with
white eyes on a white background, for example — background transparency
can eat into the subject. Pick a hue far from the subject: green (#00FF00)
for warm-colored subjects, magenta (#FF00FF) for green ones.
full frame edge-to-edge solid bright green background (#00FF00),
no gradient, no texture, no vignette
Principle 2: No drop shadows, glows, or soft shadows
The semi-transparent gradient between the subject and the background
leaves a fringe or discolors the outline once the background is removed.
no drop shadow, no outer glow, flat lighting
Principle 3: Keep the subject uncropped and leave a margin
When the subject touches the edge of the image, background estimation
breaks down. Compose so the whole subject fits with margin around it.
full body, centered, with margin around the subject, not cropped
Principle 4: Do not tilt the image
Images whose pixel grid is slightly tilted are hard to handle. Ask for a
straight composition at generation time.
upright, front view, straight-on
Principle 5: One subject per image, with a uniform pixel size
Sheets that pack several sprites into one image, or images whose pixel
size varies from place to place, confuse grid detection.
single character, consistent pixel size throughout, chunky pixels
What you do not need to work hard for
You do not need to remove anti-aliasing completely, or to land on exactly
32×32 pixels, at the generation stage. Even when an instruction such as
32x32 pixel art is not followed literally, it still pushes
the model toward larger, more uniform pixels, so it is worth including.
Recipes
Each recipe shows a prompt, the image it generated, the Pixel Refiner
settings, and the converted result. Each example was generated with the
shown prompt and converted with the shown settings.
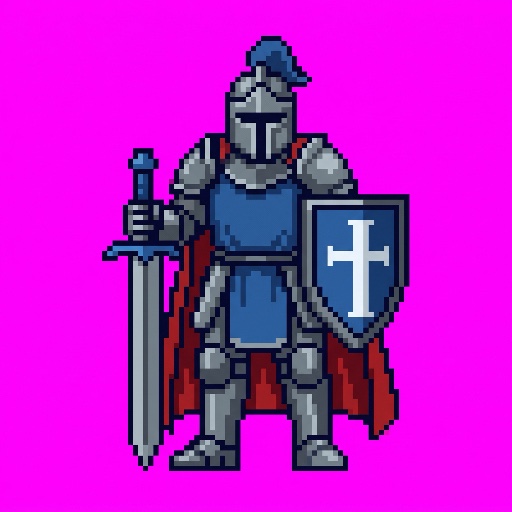
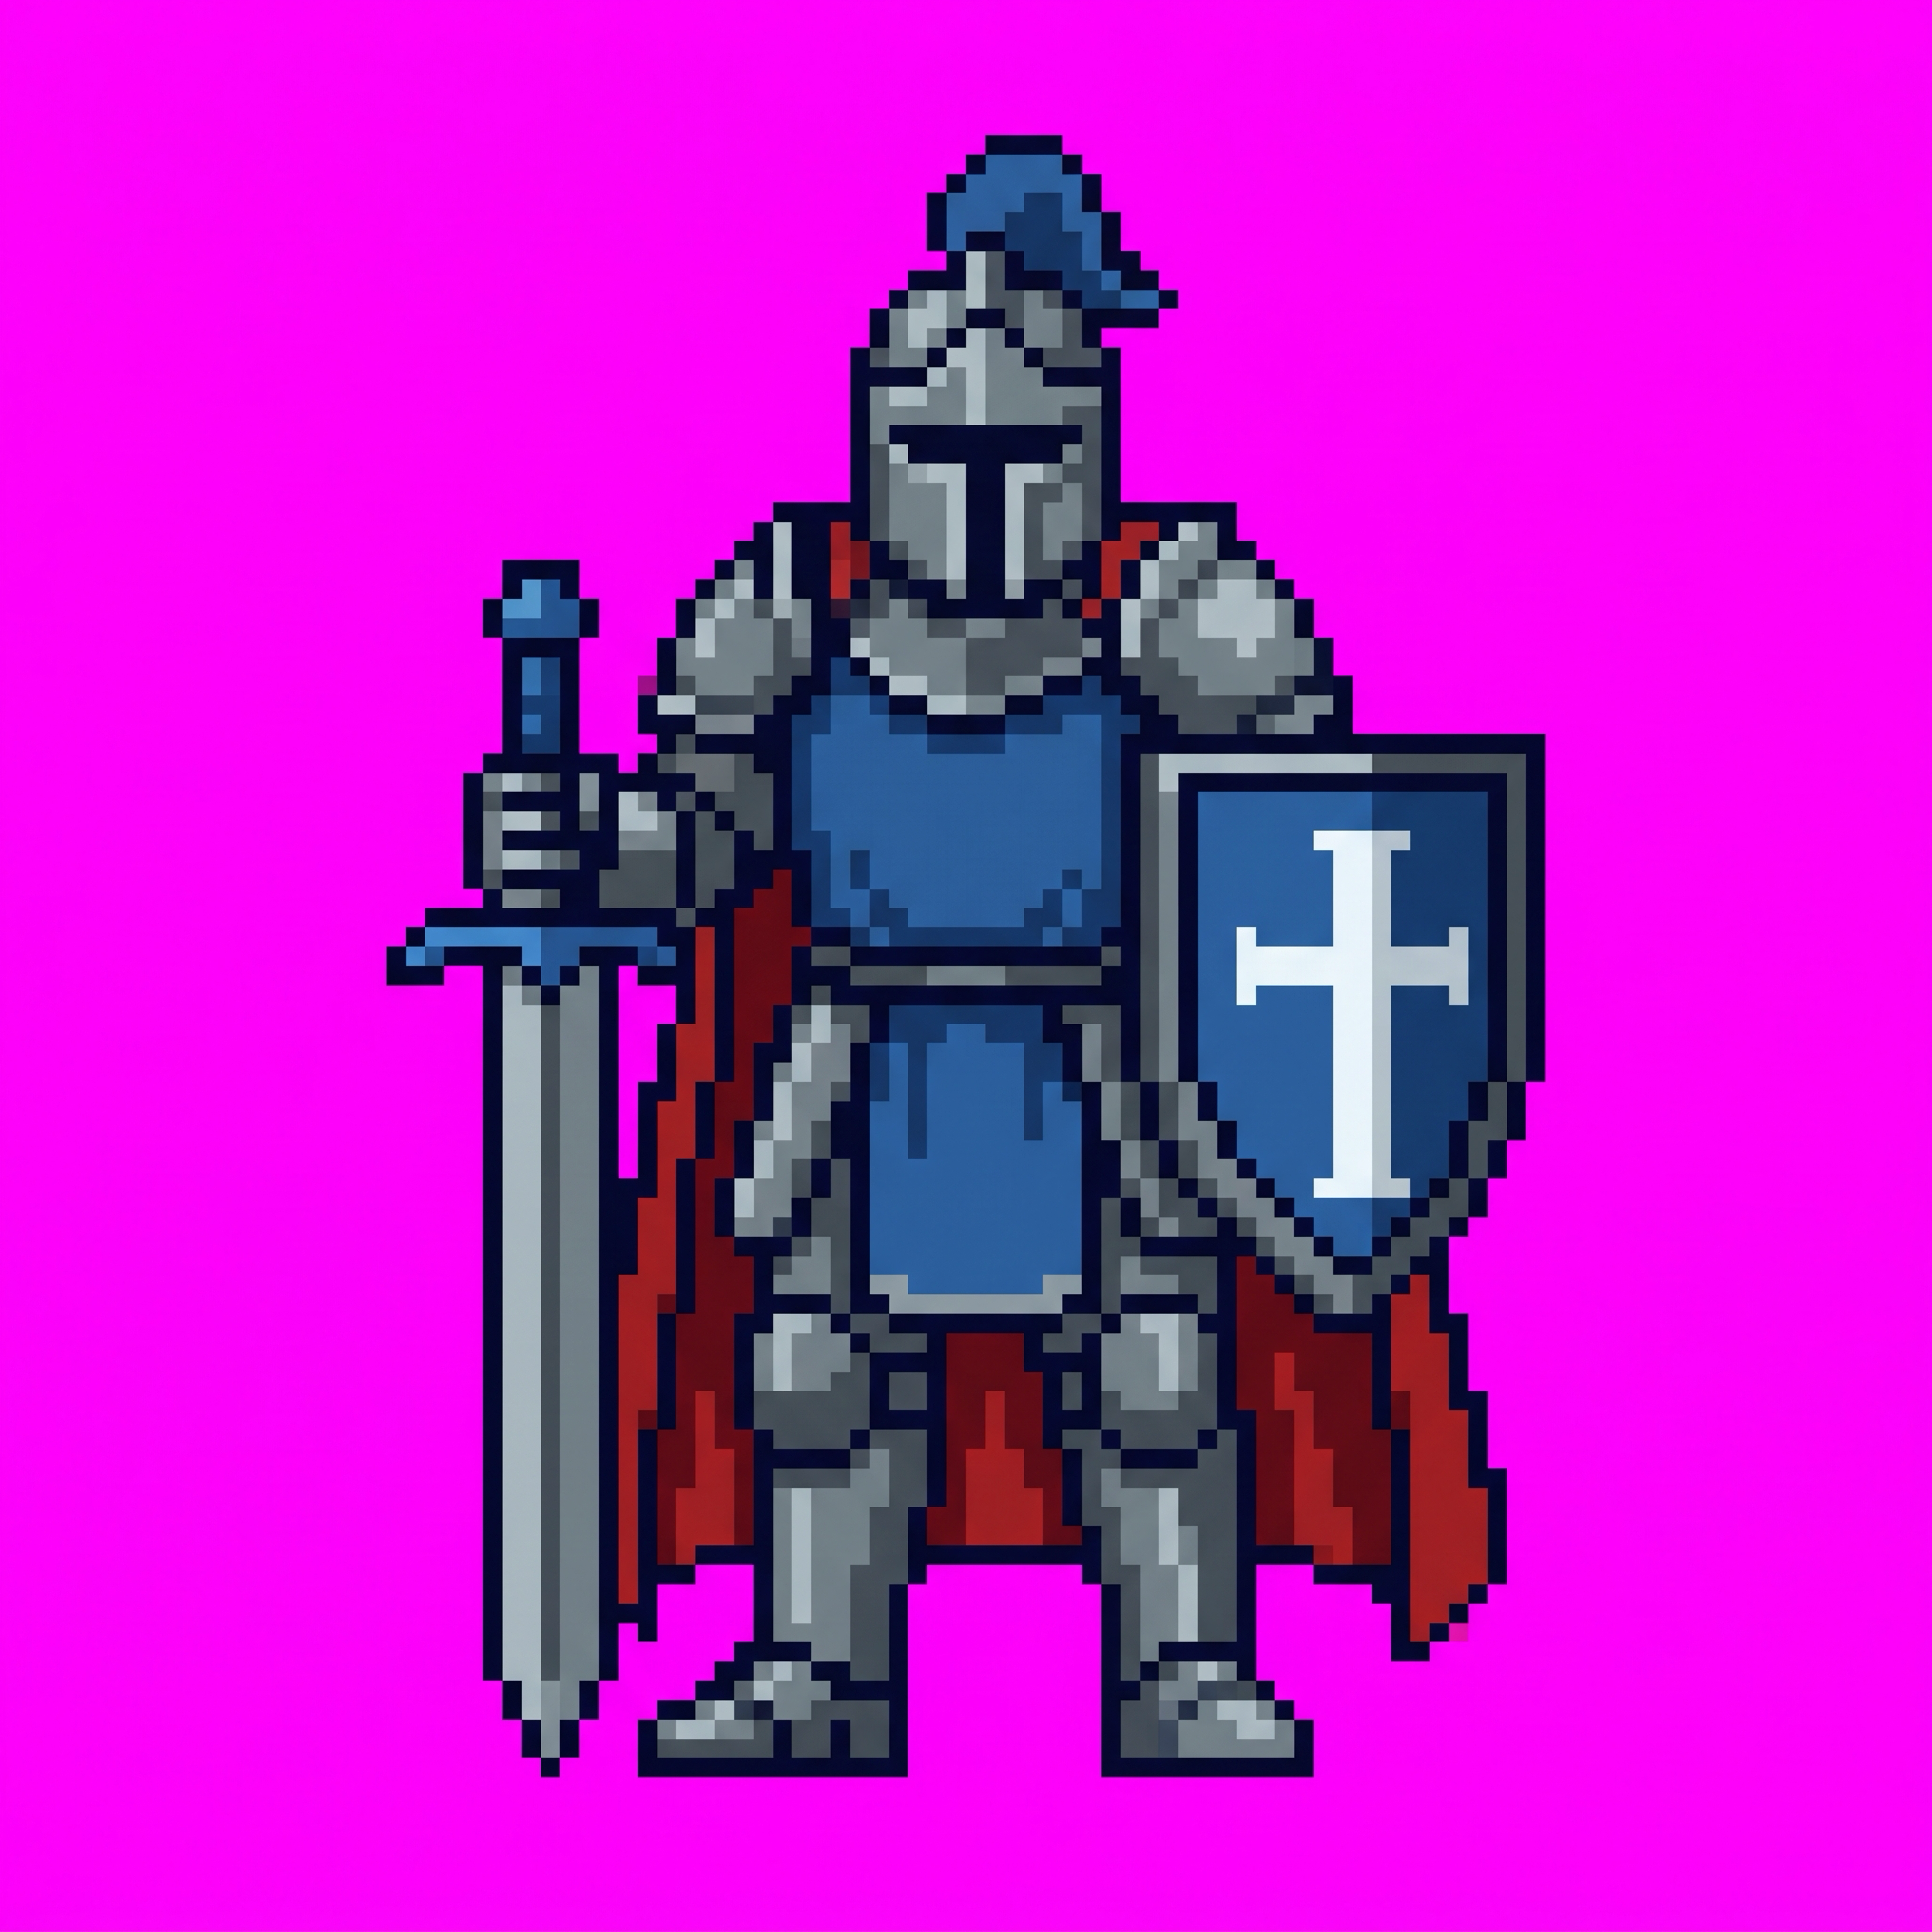
Recipe 1: Game character sprite
GoalThe basic form of a transparent asset. The themes are how to choose the
background color (a warm-colored character against a magenta background)
and leaving margin so the subject is never cropped.
Pixel art sprite of a knight character, full body, front view, standing pose,
16-bit retro game style, chunky pixels, limited color palette, flat shading,
centered with margin around the character,
full frame edge-to-edge solid magenta background (#FF00FF), no drop shadow, no outer glow, no gradient
Pixel Refiner settingsLeave Preset on “Best Match” (the background is made transparent
automatically).
Enlarged (4×)
Actual size (1×)
Converted result (Best Match, 60×85 px output)
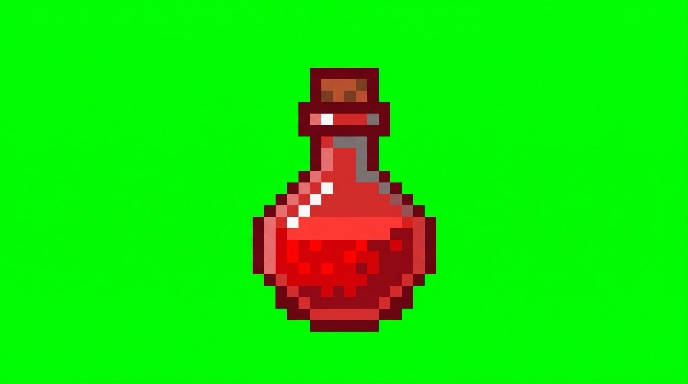
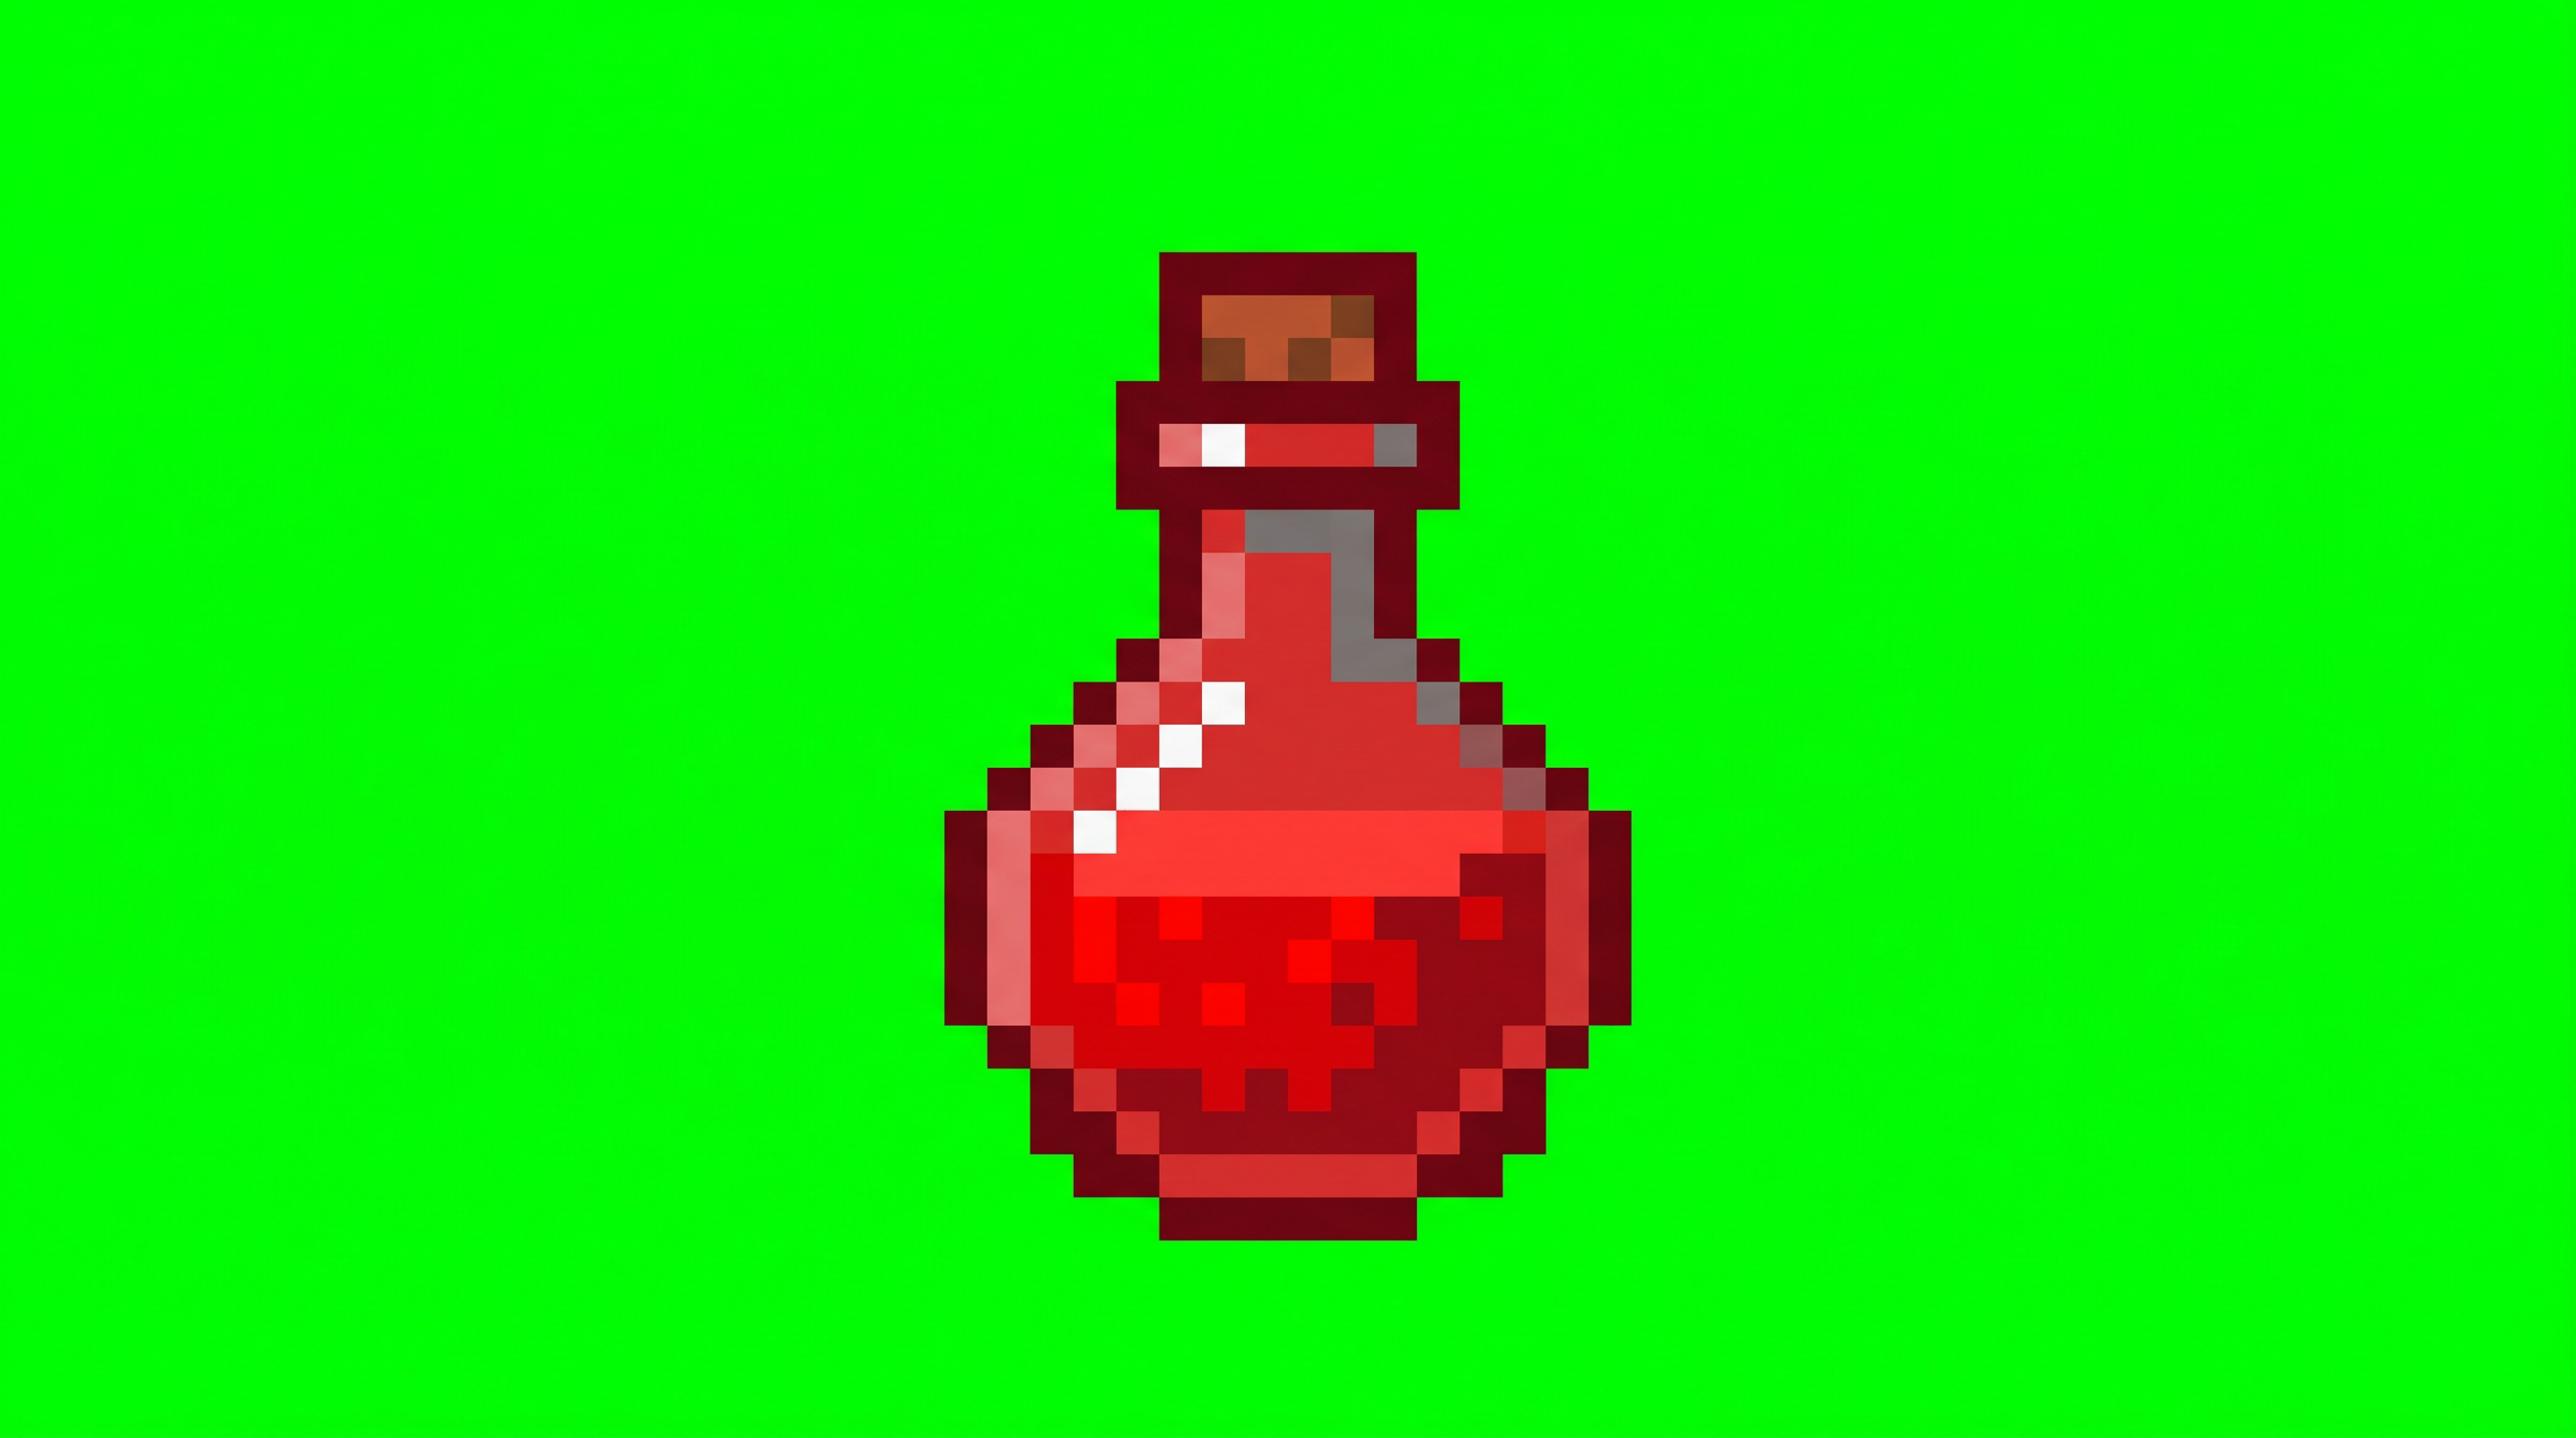
Recipe 2: Item icon
GoalA single object for UI use. Pairing a red subject with a green
background makes the two easy to separate for clean background
removal.
Pixel art of a red potion bottle, single centered object, low resolution,
flat colors, limited palette, full frame edge-to-edge solid bright green background (#00FF00),
chroma key background fills entire canvas, completely green from edge to edge,
no borders, no margins, no frame, no white background, no shadow, no reflection
Pixel Refiner settingsChoose the “Transparent Icon” preset. It removes the background and
reduces the image to 32 colors.
Enlarged (4×)
Actual size (1×)
Converted result (Transparent Icon, 16×23 px output)
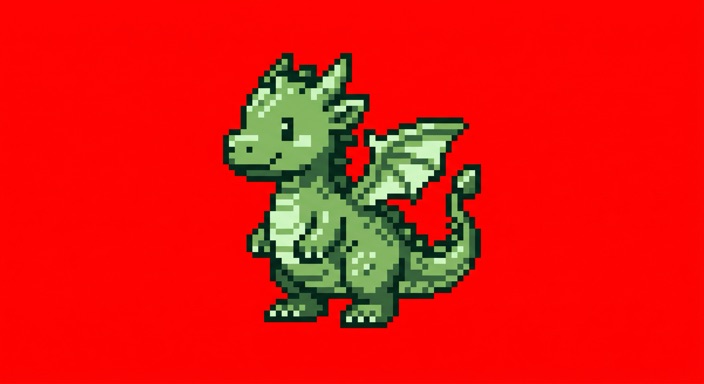
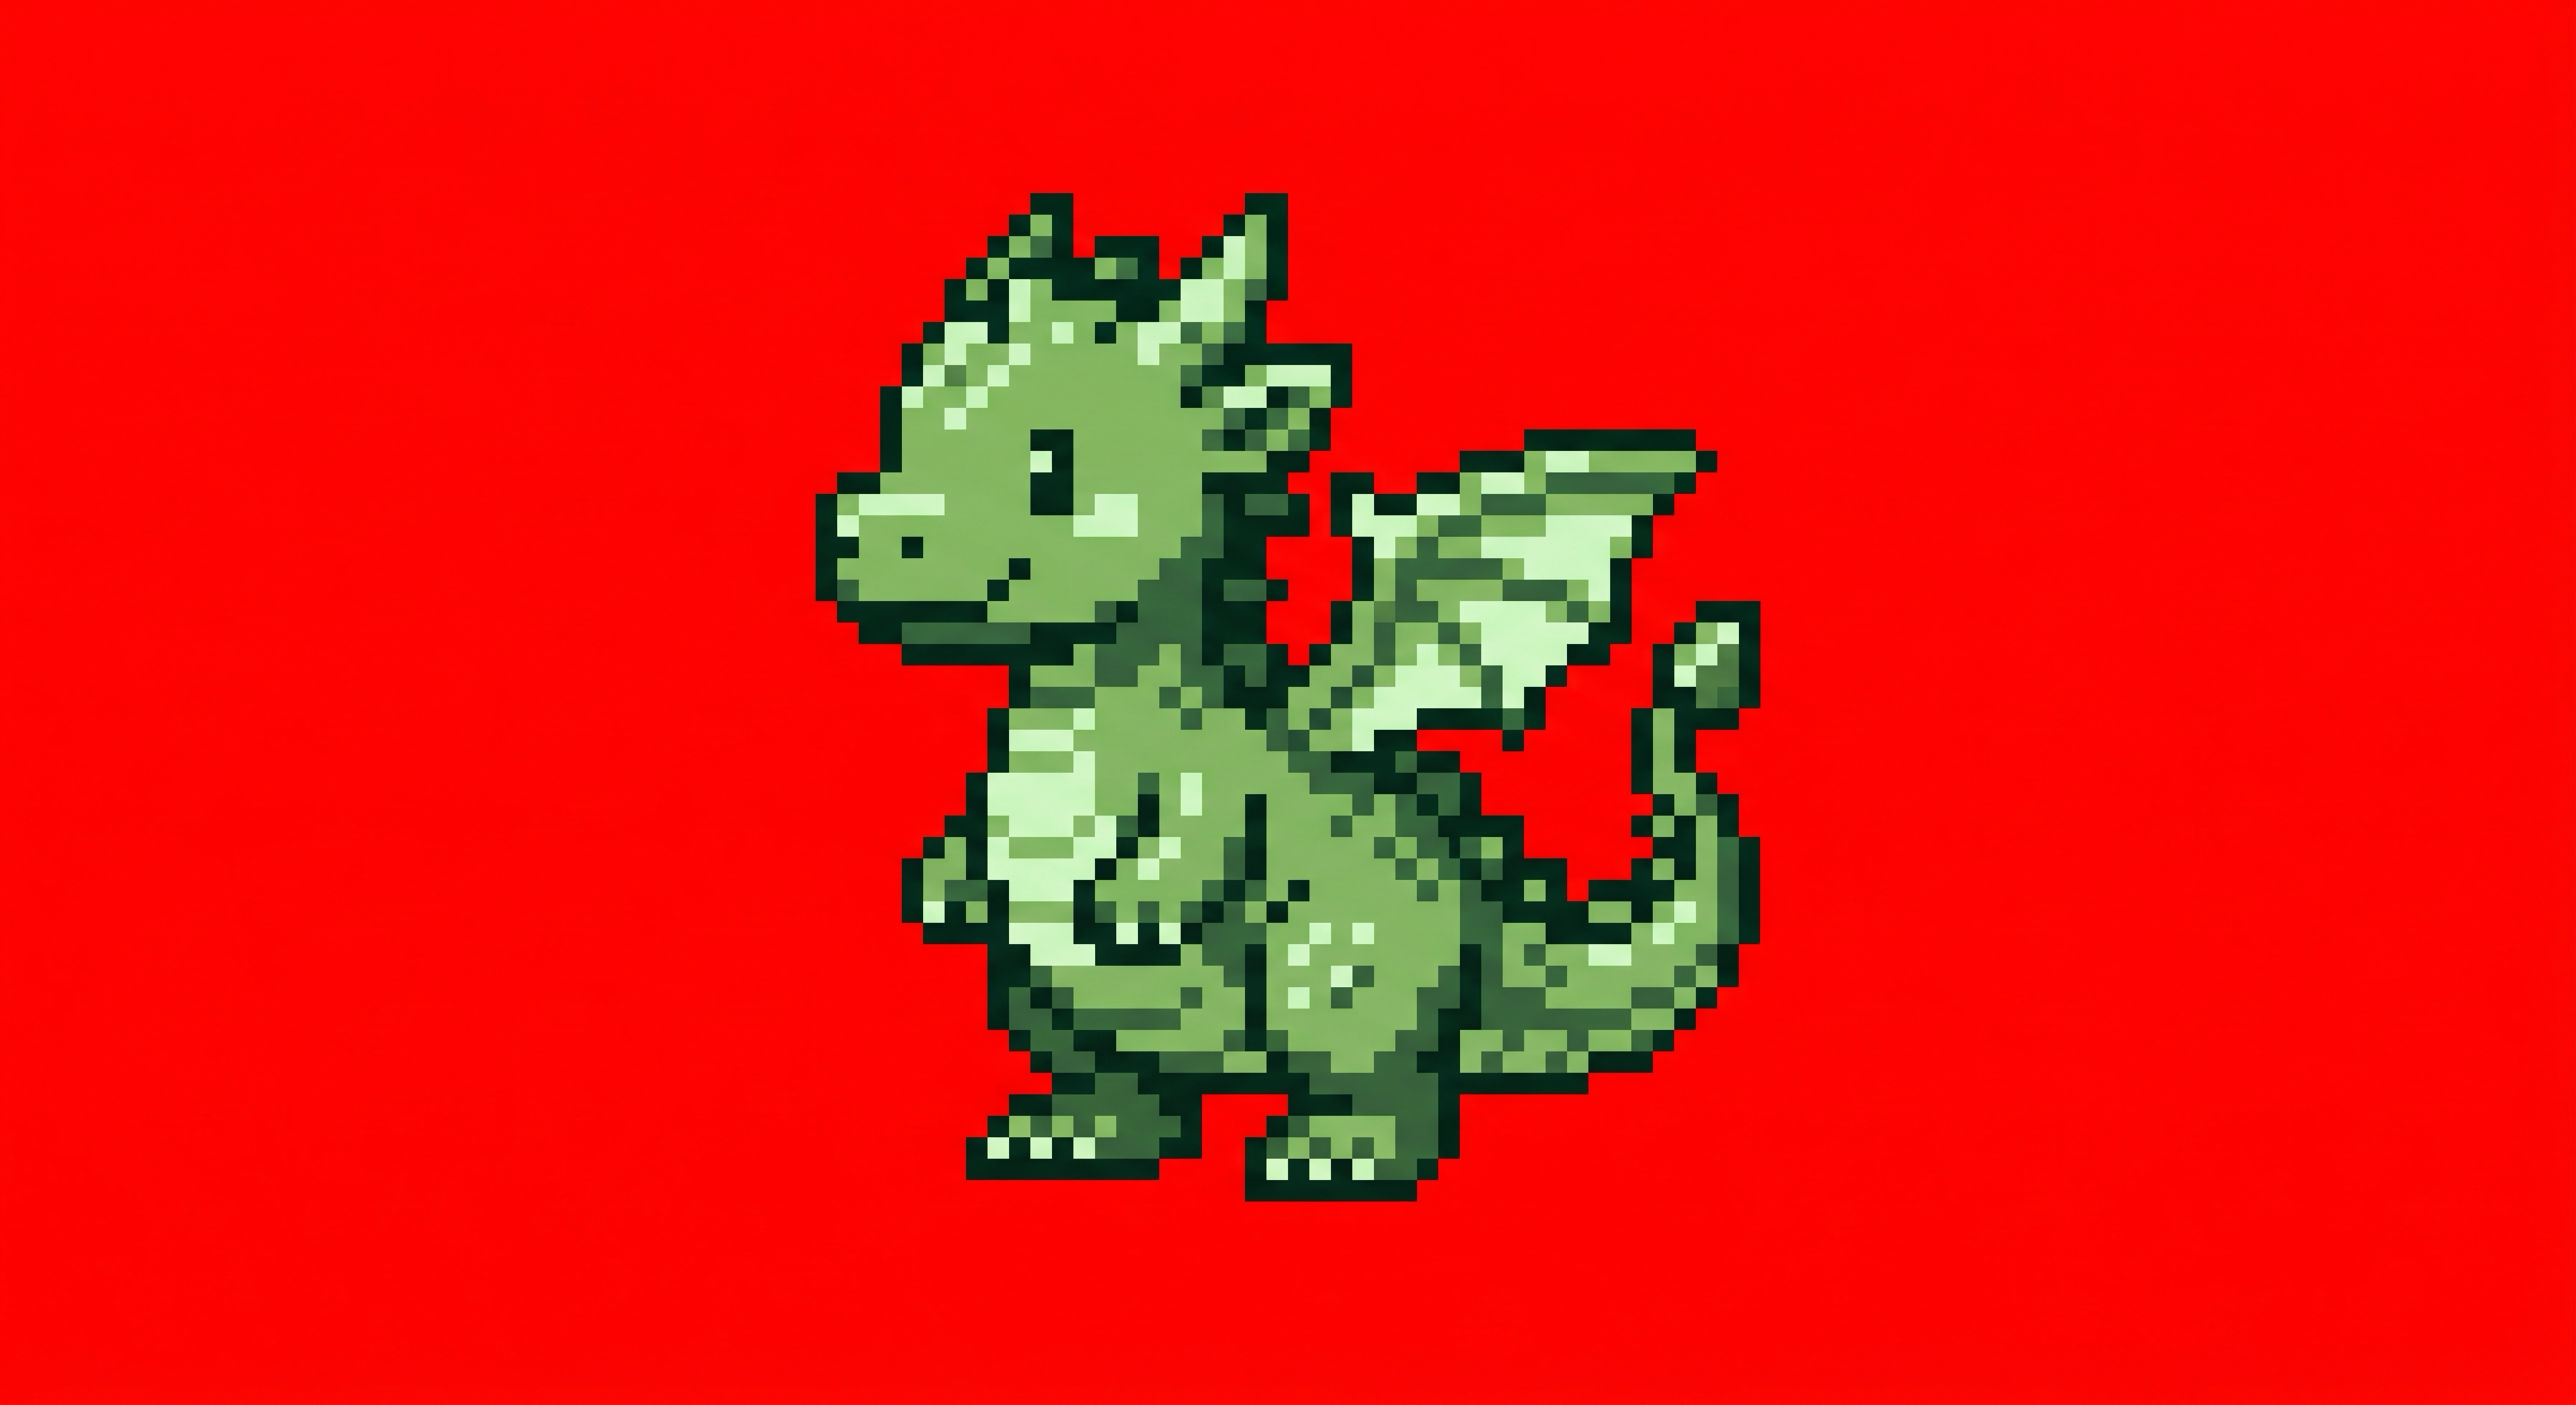
Recipe 3: Retro handheld look (Game Boy palette)
GoalAsk for few tones at the generation stage, then let palette conversion
map them exactly onto the four tones of the console you choose. The
generated colors themselves do not survive, so the background is
specified for easy removal — red against a green subject — rather than
for the finished look.
Pixel art sprite of a small dragon, Game Boy style, 4-color monochrome green palette,
low resolution, chunky pixels, full frame edge-to-edge solid red background (#FF0000)
Pixel Refiner settingsChoose the “Retro Game Style” preset. The background is made
transparent automatically.
Enlarged (4×)
Actual size (1×)
Converted result (Retro Game Style, 44×47 px output)
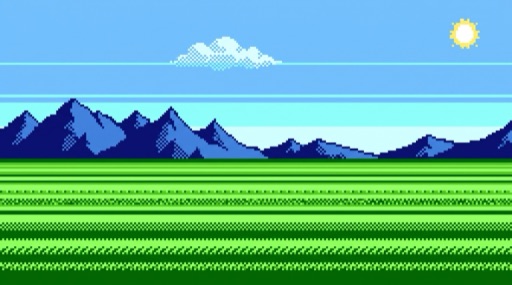
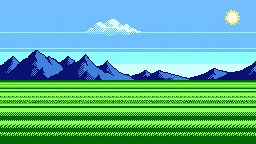
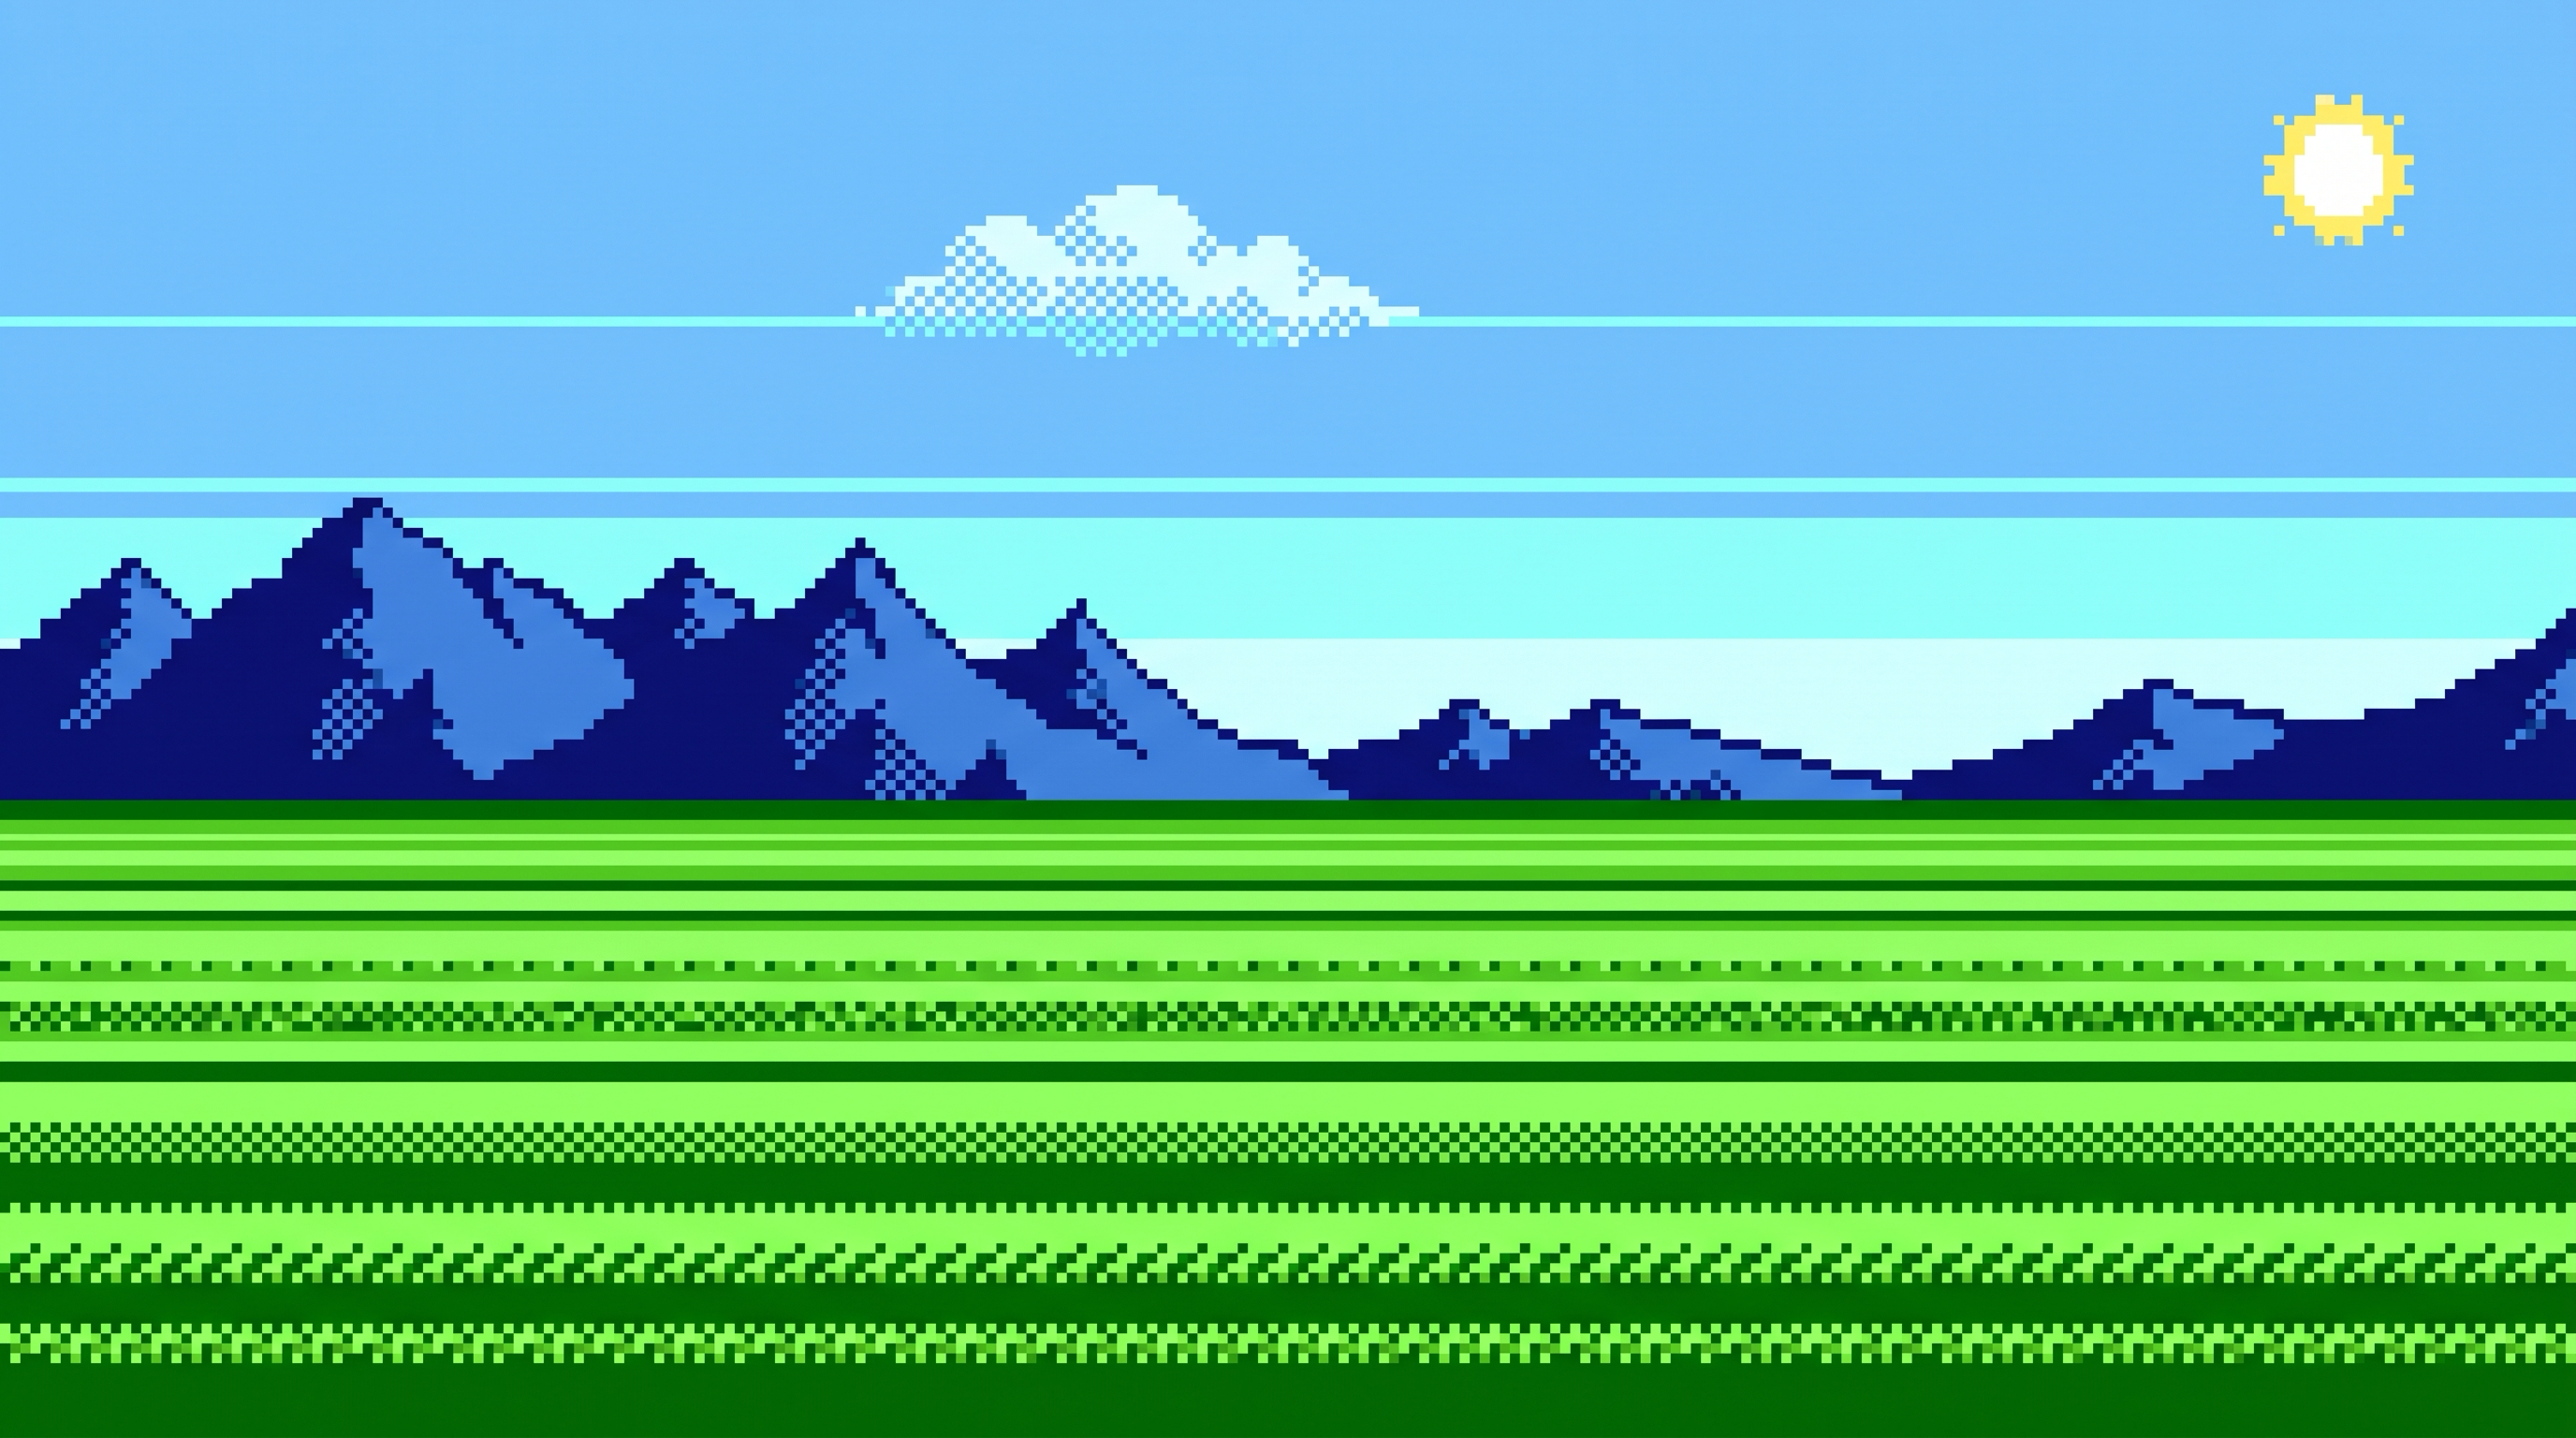
Recipe 4: Scenery for a background
GoalA case without transparency. A landscape with no characters or props is
turned into pixel art you can use as a background as it is. The key is
asking for few elements and large pixels.
Pixel art background illustration for an 8-bit retro JRPG, NES style, wide grassland with distant mountains under a clear morning sky, scenery only, no characters, no creatures, no objects, no buildings, no items, ultra low-res 64x64 pixel art scaled up, extremely chunky visible square pixels, simple composition, strict limited 8-color palette, strict retro pixel grid, sharp square edges, hard dithering, absolutely no anti-aliasing, no smooth gradients, no blur, no text, no UI, no frame
Whole image
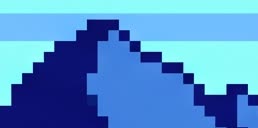
Peak edge
Generated image (2752×1536 px; whole image and the peak edge cropped to
the same area)
Pixel Refiner settingsChoose the “Background Artwork” preset.
Whole image
Peak edge
Converted result (Background Artwork, 256×144 px; whole image and the
same peak edge, one dot enlarged to 10 px)
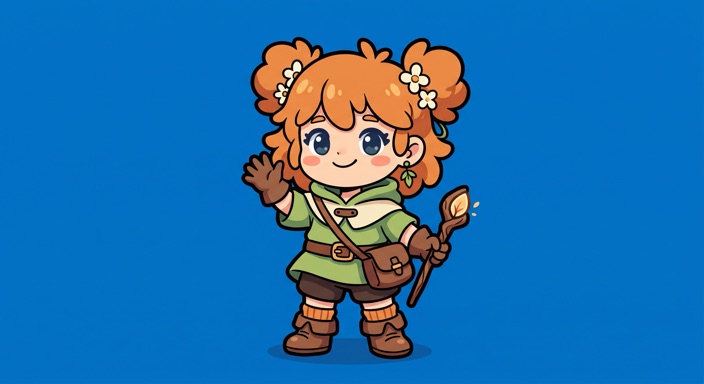
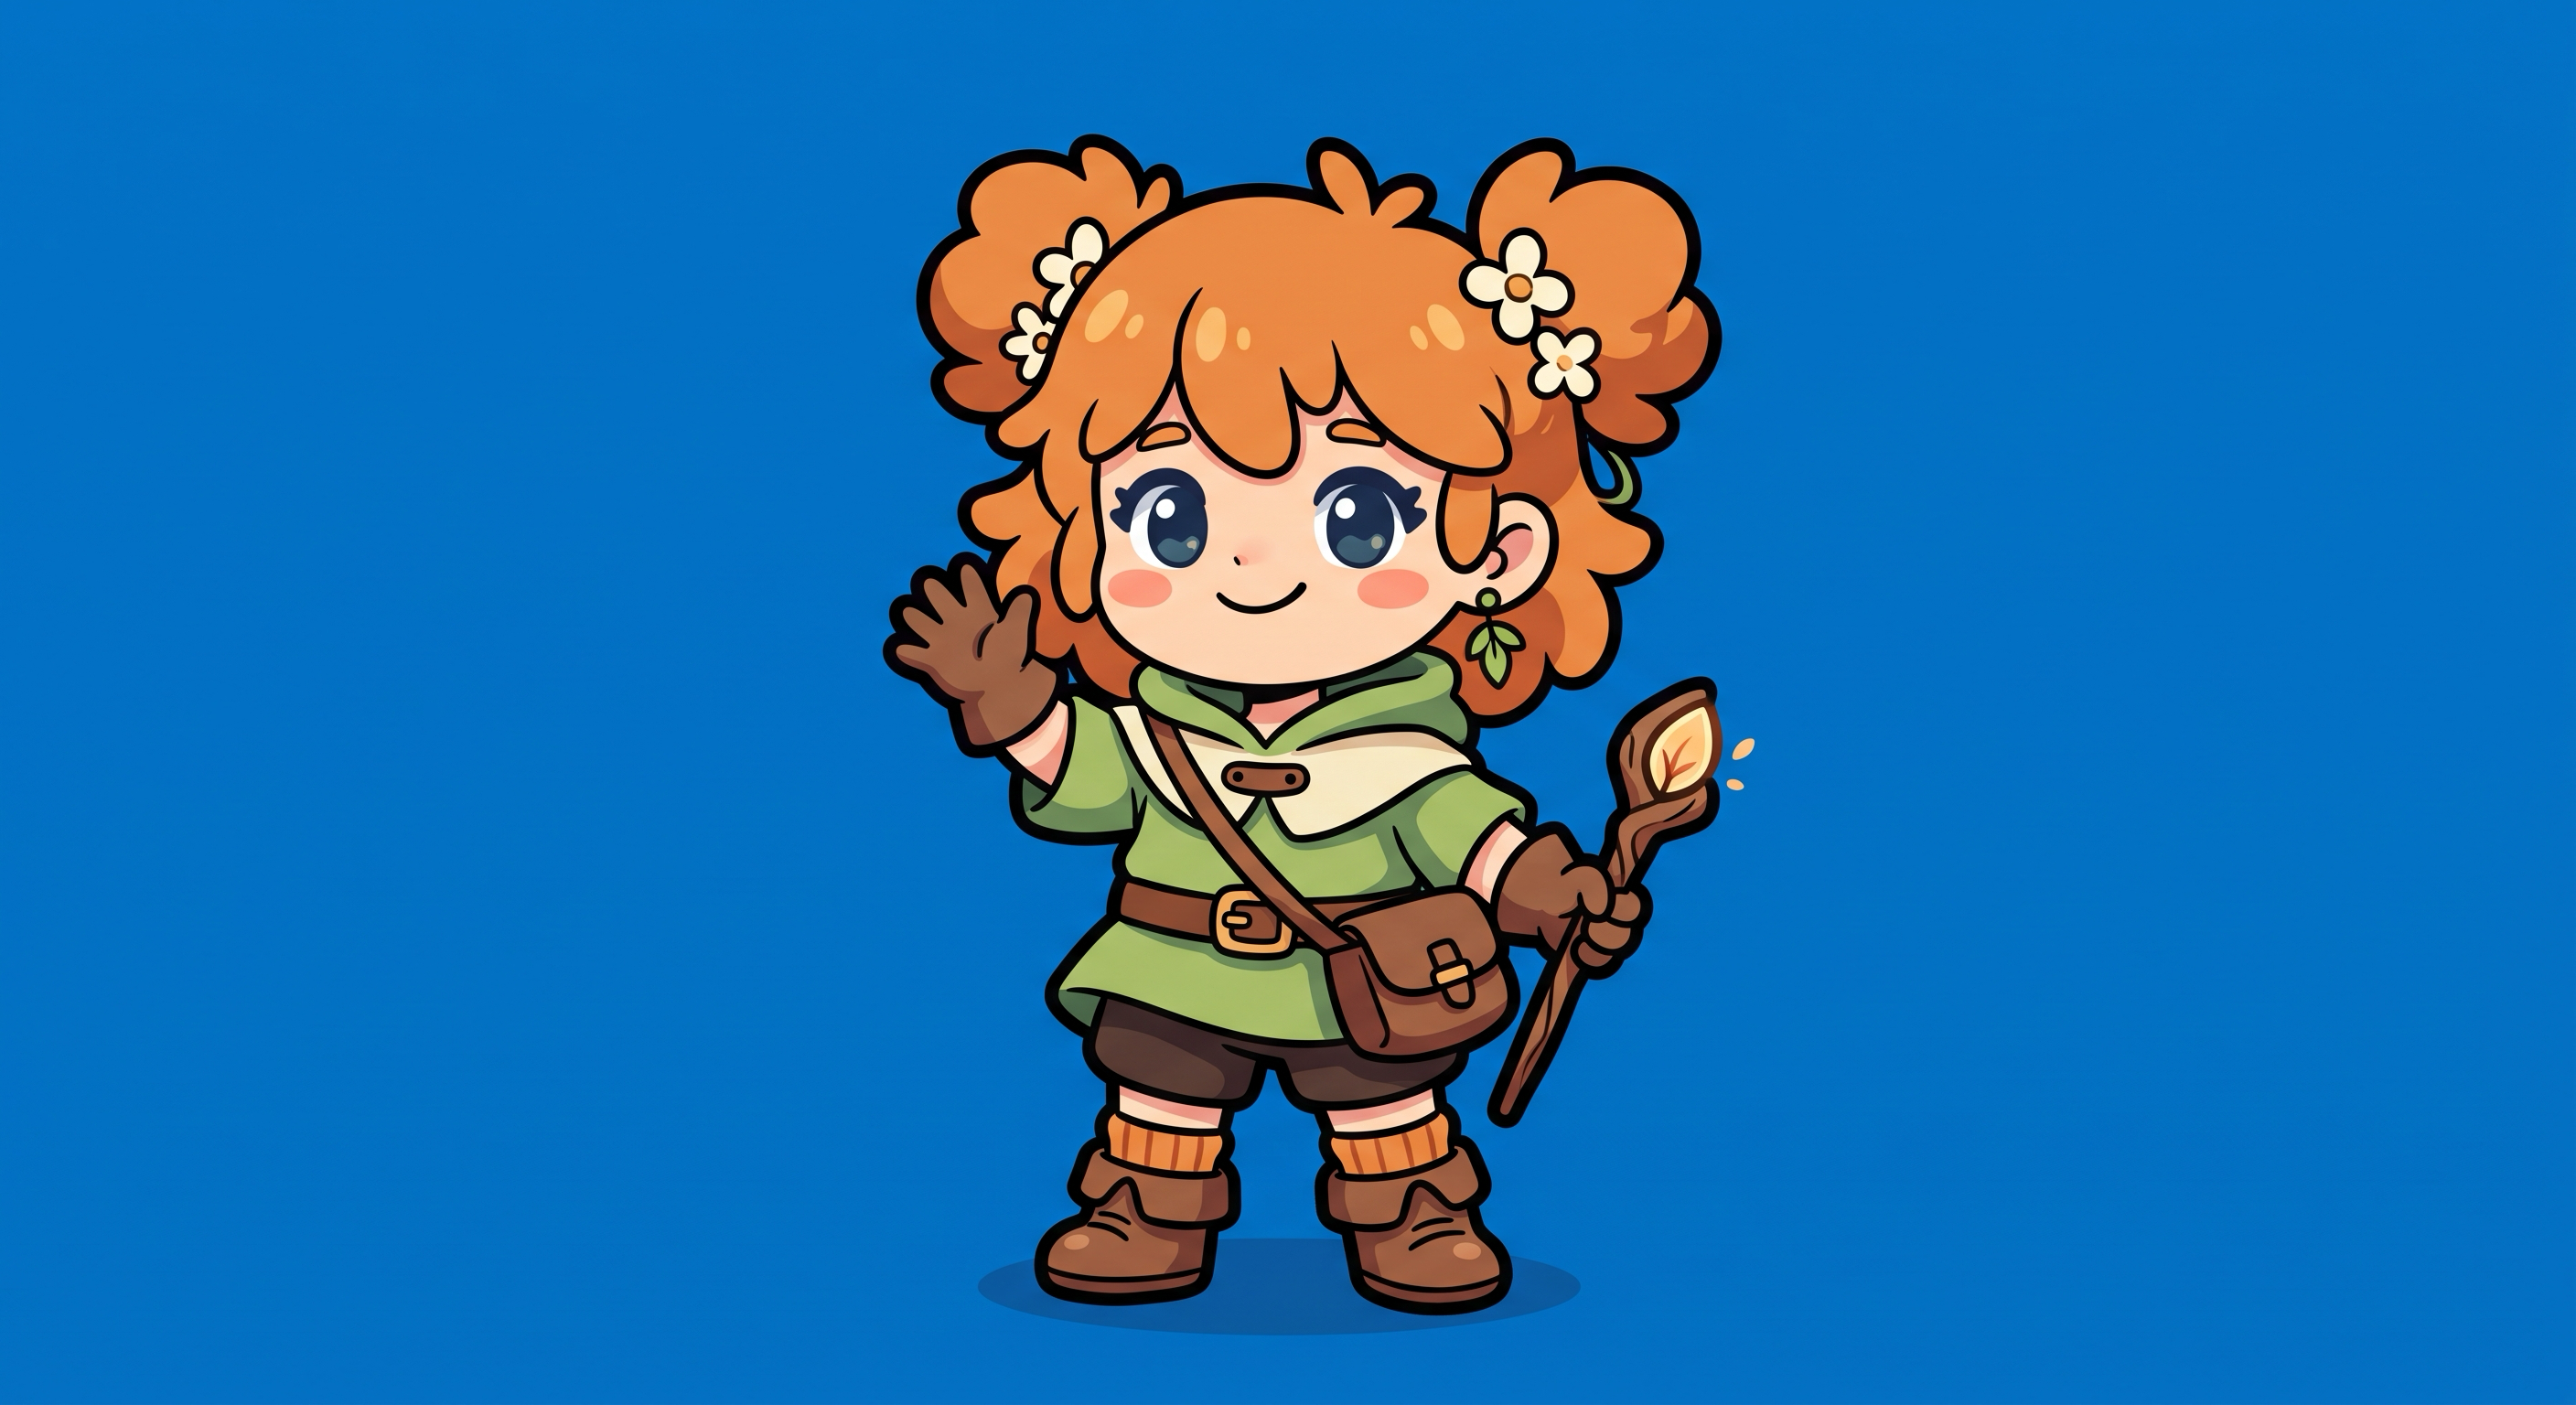
Recipe 5: Turn a normal illustration into pixel art
GoalEven with models or styles that cannot generate pixel art directly, an
ordinary illustration can be converted into pixel art. Flat coloring and
thick outlines survive the conversion well, so ask for them instead of
asking for pixel art.
Cute chibi character illustration, cel shading, flat colors, thick outlines,
full frame edge-to-edge solid blue background, no gradients, no drop shadow
Pixel Refiner settingsChoose the “Convert Illustration to Pixel Art” preset. To make the
pixels coarser or finer, adjust Pixel Detail in Quick Settings
afterward.
Enlarged (4×)
Actual size (1×)
Converted result (Convert Illustration to Pixel Art, 60×81 px output)
When It Does Not Work
Symptom
Cause
How to fix the prompt
Holes appear in the whites of the character's eyes
The background color also appears inside the subject
Switch the background to a saturated color that never appears in the
subject (for example
full frame edge-to-edge solid magenta background)
A fringe of background color remains or bleeds around the outline
A shadow or glow surrounds the subject
Add
no drop shadow, no outer glow, flat lighting
The output is far too small, or pixels collapse
Pixel size is not uniform within the image
Add consistent pixel size throughout. If the result
chooser appears, compare the candidates and pick one
Outlines ripple with jagged steps or run diagonally
The generated image is slightly tilted
Add upright, straight-on and generate again
The edge of the subject is missing
The subject is cropped at the edge of the image
Add
full body, centered, with margin, not cropped
Notes
The samples were generated with Google Gemini (Nano Banana 2). How well a
prompt works depends on the model and its version. When the result is not
what you intended, vary the wording a little, generate several times, and
pick the one image that matches the principles on this page.